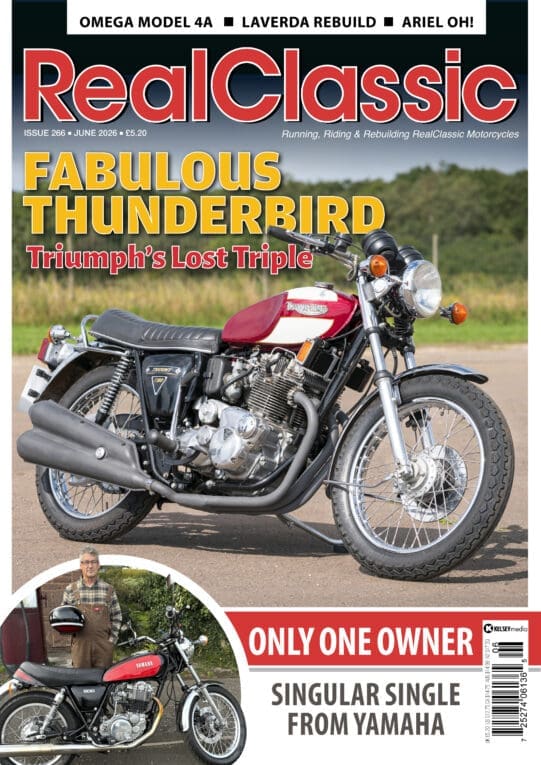
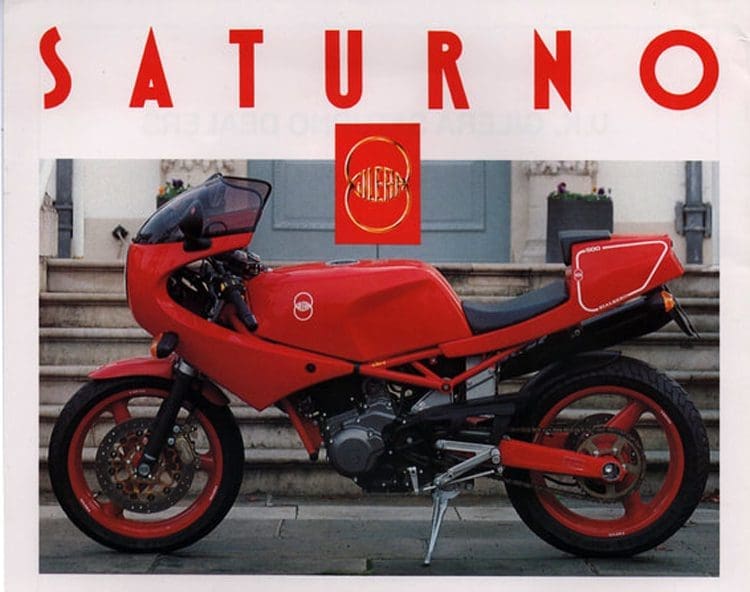
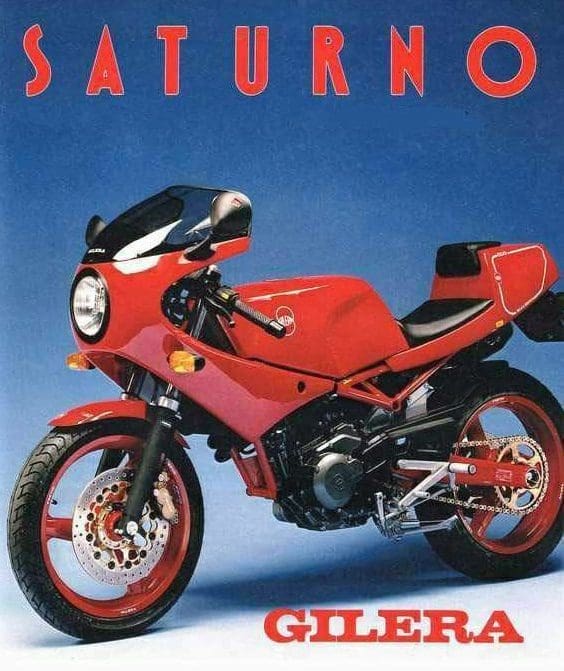
Stu Thomson’s rebuild of this unusual single-cylinder Italian sportbike continues. This time he addresses some electrical issues and moves on to the wheels, suspension and preparation for paint…
Electrical items on the Saturno are fairly standard for the period, 3-phse alternator, 180W, regulator-rectifier and CDI electronic ignition triggered from the alternator rotor. There’s also a separate rev-limiter box which has three connections: exactly how it works is a mystery. The side-stand cutout goes through an Eltel control unit to control a buzzer located near the headlamp. If the sidestand is left down when the bike is placed into gear, then the buzzer sounds. Some of the wiring was damaged so was replaced. The low fuel indicator, which appears not to function, will be replaced with an inline fuel tap. There’s some hard-to-get-at fuel in the tank at the moment which an additional tap will provide access to.
The original indicators were suitable for this model’s intended market in Japan but are tiny and not suitable for the UK or Europe so they were replaced. The indicator lamps on the dash are not very bright in sunlight – typical of 1980s and 90s bikes.
Enjoy more RealClassic Magazine reading every month.
Click here to subscribe & save.
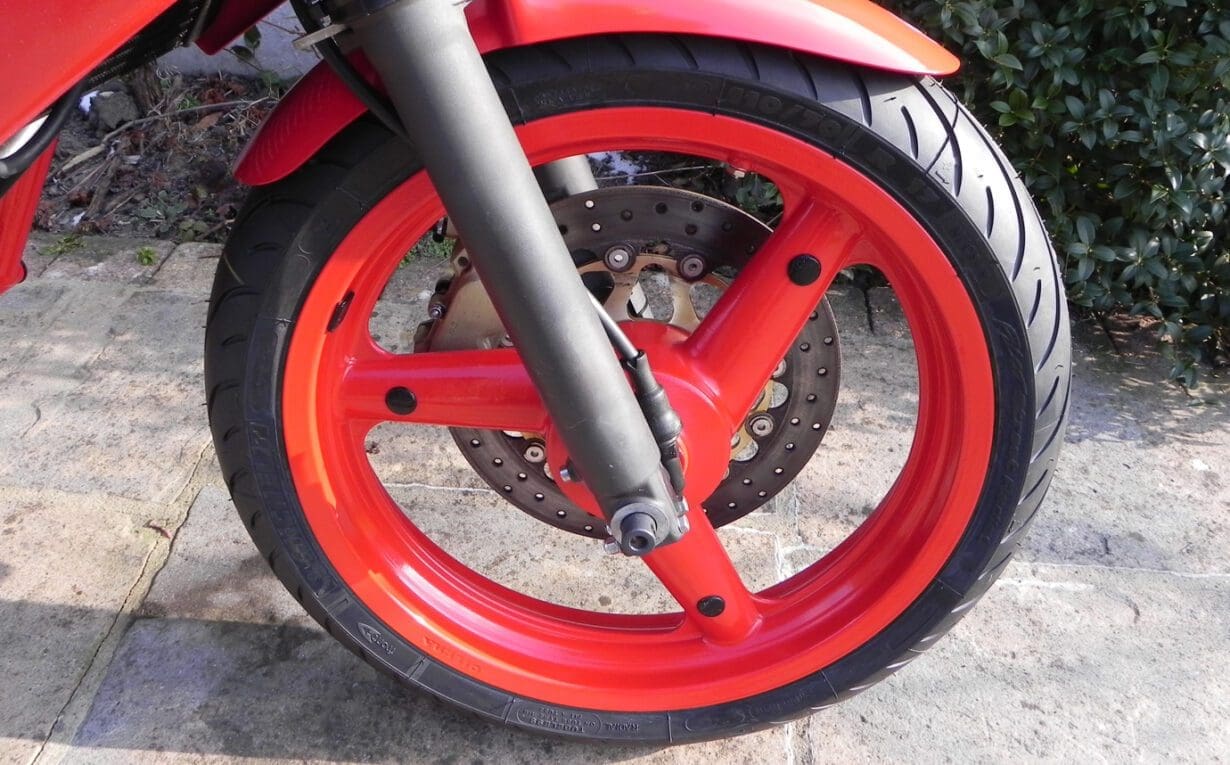
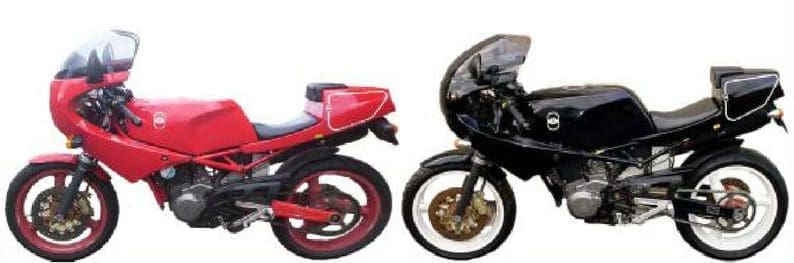
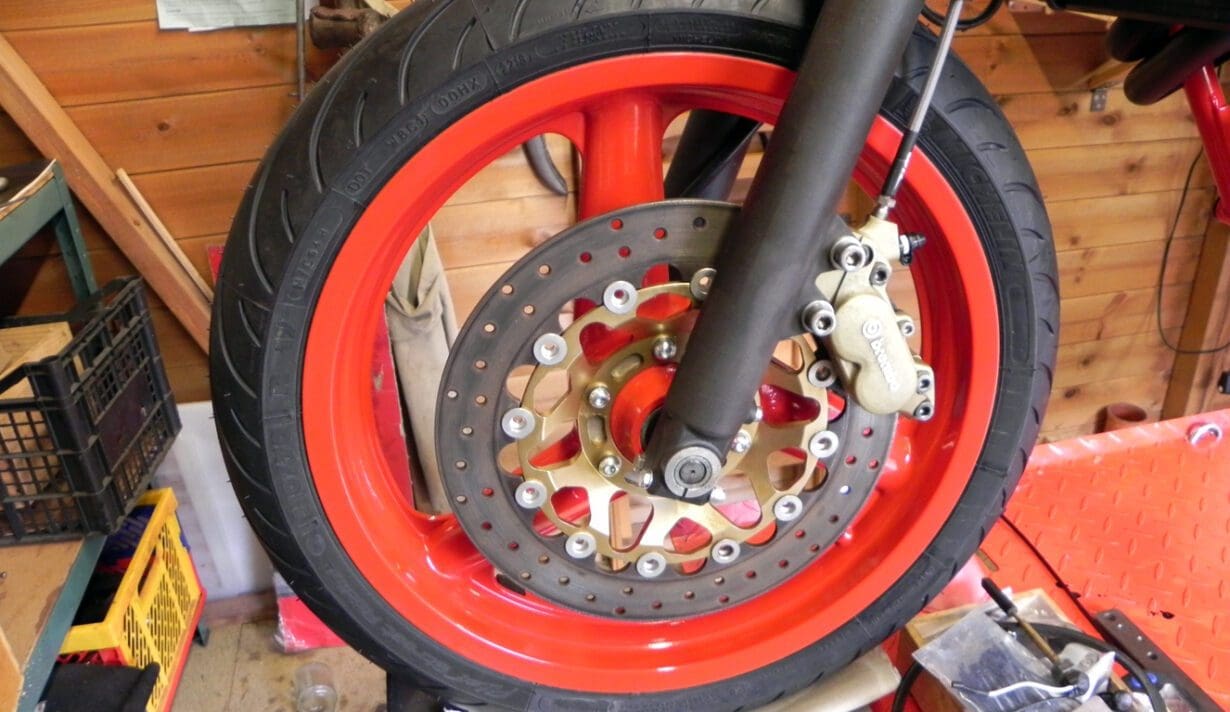
The wheels are very light, three-spoke, top-quality Marvic items — the only alloy wheel manufacturer that has its own magnesium foundry. These went off to the powder-coaters for a coat of primer and Carmine red after the wheel bearings and other items had been removed. New sealed bearings and seals where required and rims were fitted along with new tubeless tyres – Michelin Pilot Street.
However, the tyres valves were really unusual. I wasn’t aware there were so many types for cast wheels, and ordered three sets before I got the correct ones. The lightweight wheels are quite thick in the valve area– 8mm with 8.3mm holes for the valves .The valves are the special, racing, clamp-in type.
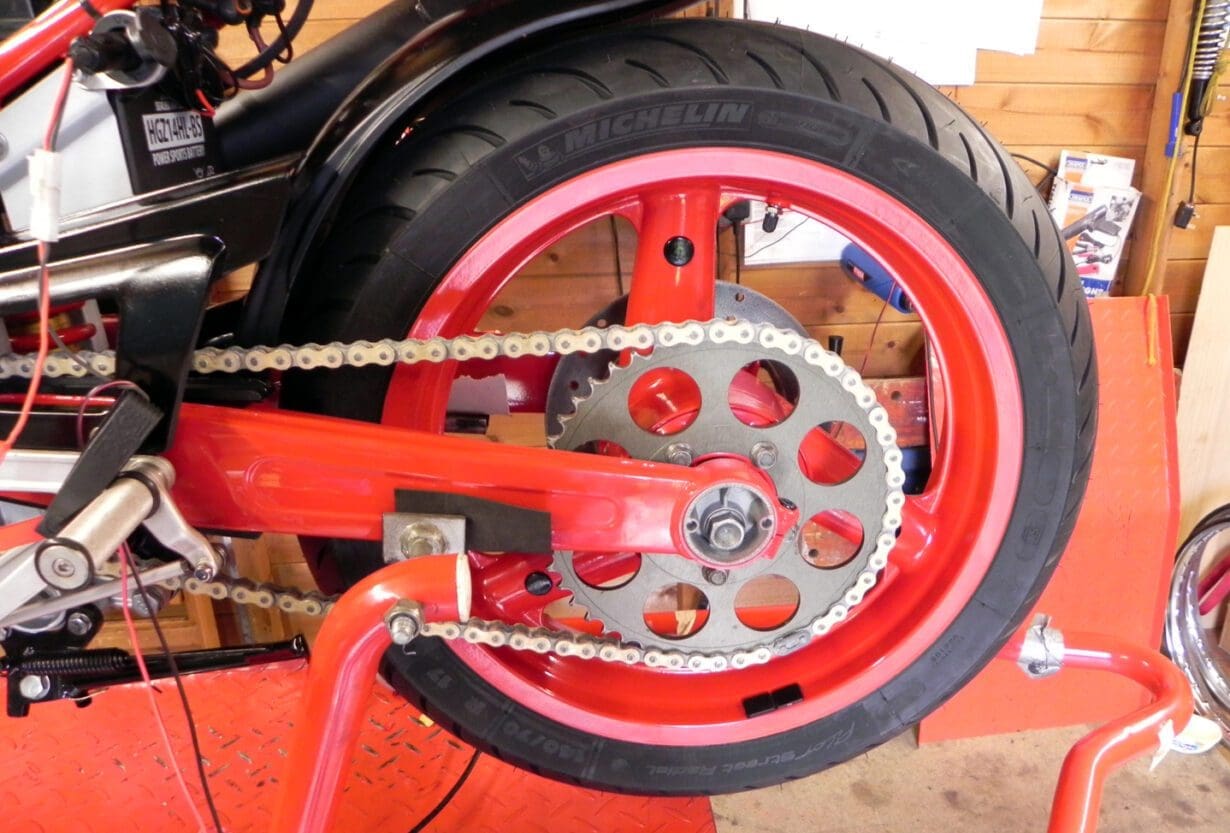
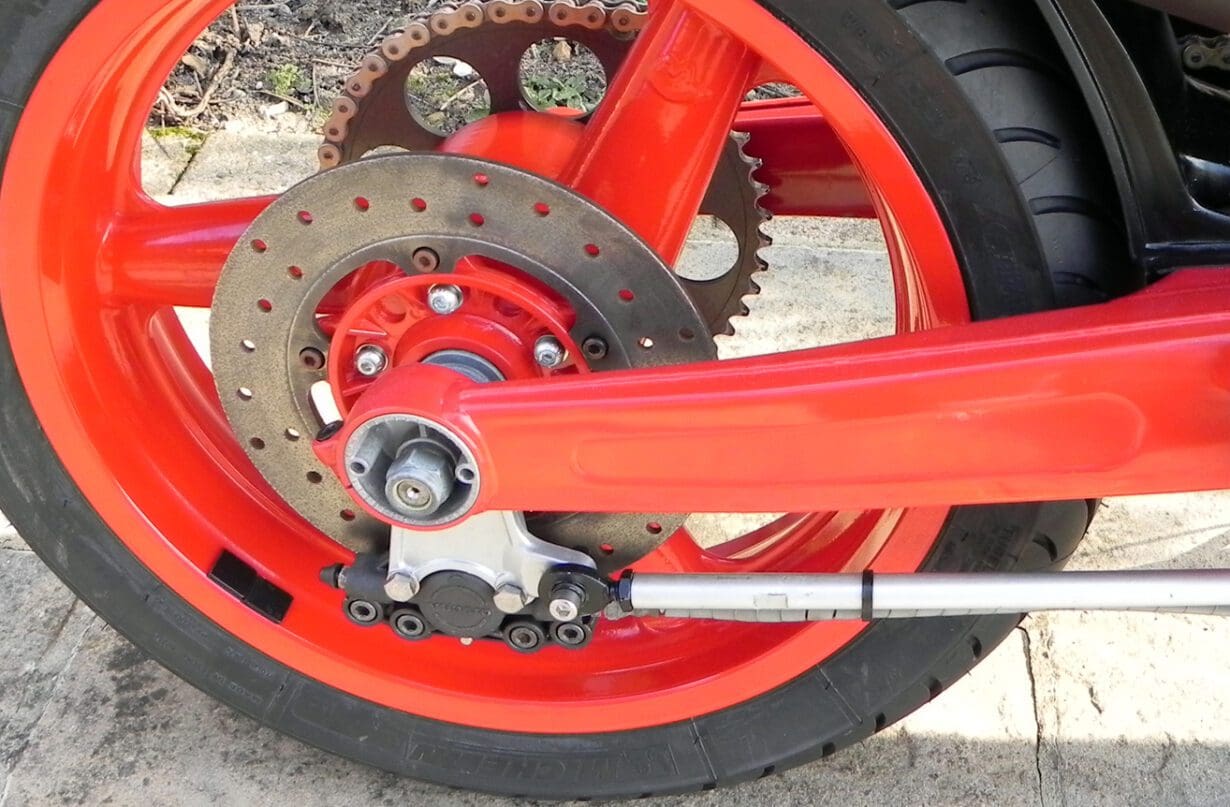
The rear wheel is a QD type where the chain and sprocket stay in place. Due to this design there are three bearings; two for the wheel and one for the sprocket housing. The chain is adjusted by eccentric adjusters using a special tool (two screws in a bar of metal). The sprocket nuts come very close to the swinging arm even with the correct spacers: precision engineering or a mistake?
The front wheel also comes off quickly as there’s only one, cast iron, floating disc. The Brembo four-pot Goldline caliper can be left in place. The rear wheel is braked by a Gilera-badged, two-pot Grimeca caliper. It’s quite easy to get seals for both of them – the rear ones come from a Norton supplier as Grimeca were fitted to some Norton 750s and 850s.
The rear master cylinder was the original 13mm Grimeca unit, but the front was a 14mm Nissin cylinder. Originally it would’ve been a Brembo, but the front brake lever, reservoir and master cylinder have been replaced with Nissin equivalents have different thread connection sizes. It looks like the original had a mishap!
I made a new banjo bolt from stainless, then fitted a new braided hose from Wezmoto: very good quality at a good price. The rear hose didn’t fit as it is a bit tricky to circumnavigate the swinging arm pivot. I finally got a HEL one which fits better than the Wezmoto hose, but still isn’t designed like the original.
The suspension is by Marzocchi. At the rear there’s a gas-filled progressive damper, adjustable only for spring compression, with steel linkages to the swinging arm and engine plates. I stripped the spring from the damper after making tools for my press – no sign of any leaks – and repainted it.
The front forks are 40mm units. One leg looks after compression damping and the other rebound damping, neither of which is adjustable. There’s no corrosion anywhere important so I replaced the dust covers and fitted fork gaiters.
The paint appeared to be topped with lacquer with transfers over the top of the lacquer. Not unusual in the 1980s but ethanol-proof lacquer is needed these days over the transfers. I’ve used 2k lacquer over transfers on previous rebuilds, and have just about perfected the technique.
To paint the swinging arm I carefully removed the bearings, seals, existing paint, weld spatter and rust – that rust was mainly due to inadequate preparation of the metal and welding prior to painting in the original build. The surface was sandblasted, etch primed, grey primed and then given three coats of 2k carmine red 2k – no lacquer, so touching up could be done in future.
The frame went off to the powdercoaters after I’d taken pictures of the identification plates and numbers. There are three types of frame for these Saturnos for different markets; Japanese, Italian and German/Swiss. Each has subtle differences in steering stops, ignition switch / steering lock locations, and style of VIN plates to suit differing construction and use requirements. So the German plate has the maximum allowable mass of bike with rider (255kg, apparently), and the plate is riveted in position. The Swiss market models have extensions to the front and rear mudguards.
The petrol tank had a very small ding from the right-hand switch assembly where the standard clip-on came very close. The paint was faded and cracked, and there was a little bit of rust internally. That was dealt with by a good soak inside of citric acid solution, neutralised with soda crystals.
After carefully measuring and photographing the transfers to get their locations correct, I checked the tank to see if I could get away with rubbing it down for pain. However it was quite crazed through to the primer, so I decided powder-coat it to give a good base for 2k. I have used this method before; getting the surface blasted, rust killed, using the powder coating as a base coat and then finishing with 2k. I first did this 12 years ago and the paint is still good, fade free, with no rust.
After powder-coating I could see that the tank top surface had not been welded smoothly and originally this had been hidden with filler. Some work was required to tidy it up prior to final 2k coating. It was also apparent that the tank was welded together from three main pieces; a pressed-out base and two top halves, welded together, plus the fuel filler and an internal anti-slosh baffle. The fuel filler wasn’t located centrally but is slightly offset – this is the type of tolerance you get with small production run models which are hand finished. It’s referred to as ‘character’, I believe…
NEXT TIME: finishing the paint and reconditioning old bodywork. And look out for the Saturno turning up in print in the monthly magazine in early 2022…