There’s a moment in every bike’s life when its paintwork needs a bit of a refresh – but you don’t want to go to the expense and extent of a full-blown professional makeover. Bob Pickett set to with the sandpaper and spray cans…
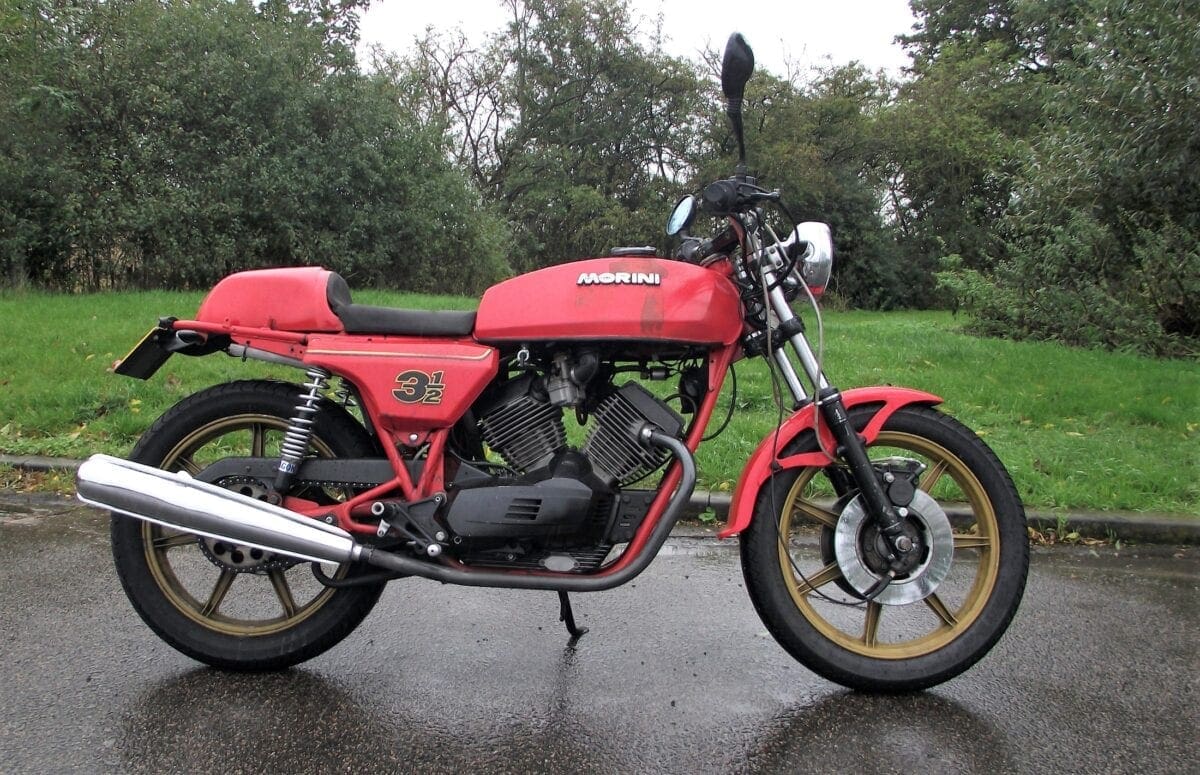
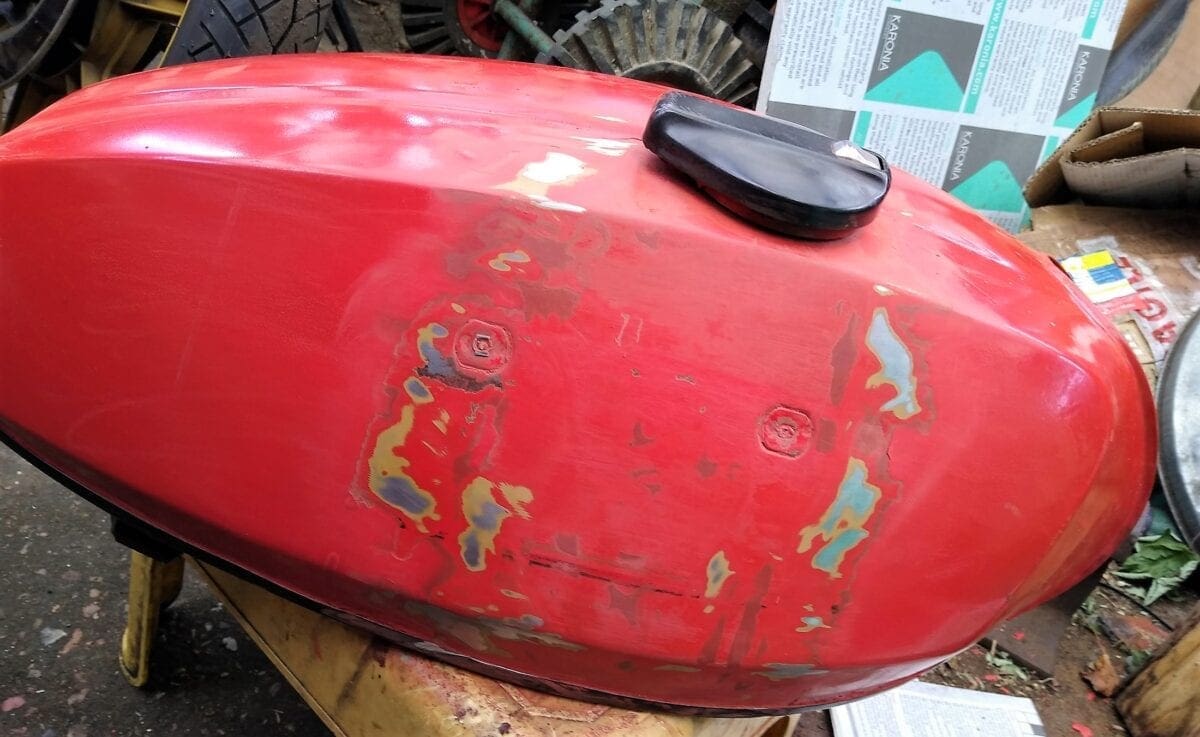
Regular readers may well recognise this particular Morini 3½, which appeared many times on the original RealClassic website. The 1982 Sport was gradually transformed by Martin, its previous owner, from a regular roadbike into a surprisingly effective trackday hack. Upon Martin’s death, Bob inherited the Morini and wrote about returning it to the road in RC188 a year or so ago. At the end of that story there were still a few tiny tasks left outstanding, one of which was the petrol tank which definitely needed a large dose of TLC. Bob takes up the tale…
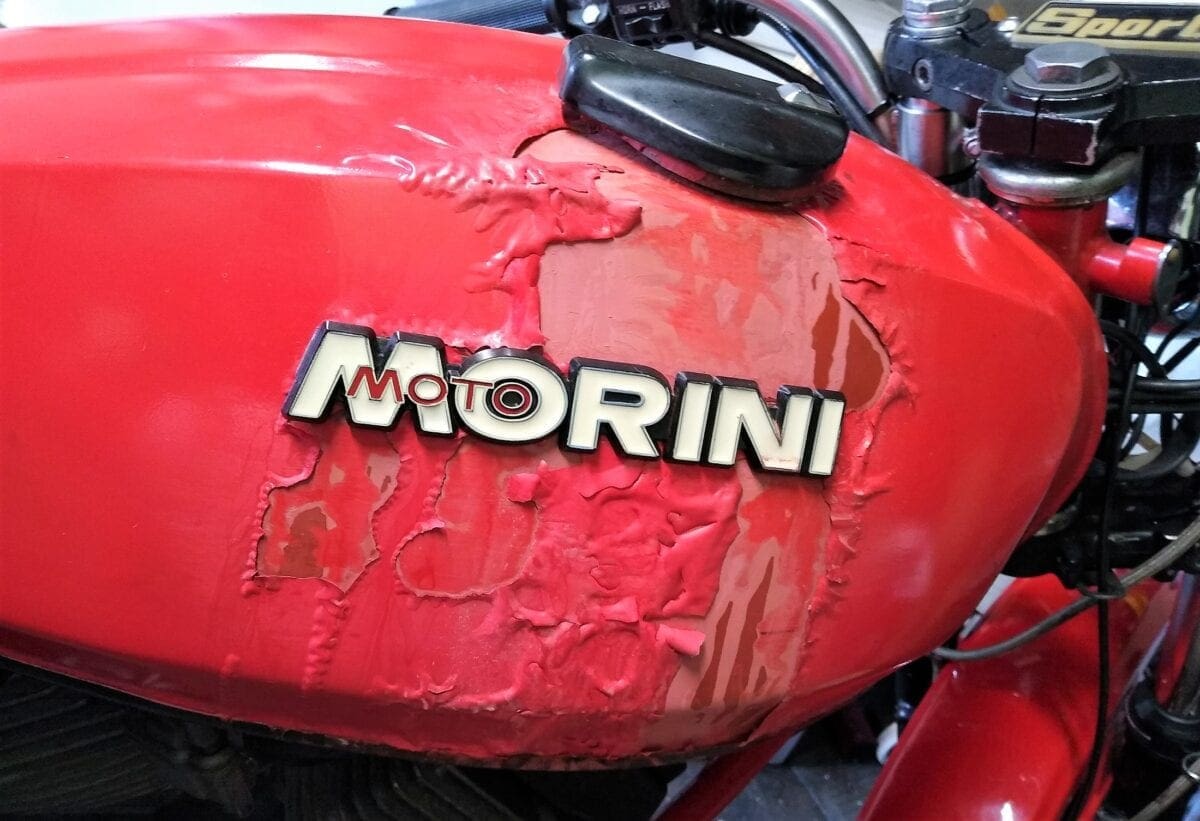
I’ve no idea what had caused the original damage, but things got worse. The first time I filled the tank to the brim… it spilled over. Fuel mixed with dodgy paint = breakdown of chemical bonds. It blistered, it leaked, it looked like an 18-30 holidaymaker’s shoulders after a boozy session on an Ibiza beach.
Enjoy more RealClassic Magazine reading every month.
Click here to subscribe & save.
This wasn’t the only work which needed to be done. The gearbox and engine had to be stripped. This, of course, meant removing the tank; the ideal time to get on with that paint job. I’d never repainted a tank, so homework time. A common feature of each article was that they made it sound simple. ‘Sand back to bare metal, spray on new paint, add lacquer, let it dry and off to the pub we go.’
Colour me cynical, I doubted it.
First decision: brush or spray? I don’t have a delicate touch, spraying would apply finer and more evenly. Important questions: which colour, what paint? Colour? Red. Shade? For a Morini, that depended on the week it left the factory! Paint? Well Martin had a liking for Smoothrite, so it was a fair guess he’d used it on the tank at some stage.
This led to a very important question: is anything compatible with Smoothrite? Don’t know, get in touch with the experts. Dave from Hoppybikes put me in touch with local auto factor, Seal Equipment Auto. From a photo they identified the colour. Smoothrite? They came up with a primer that should be compatible. To make the job easier, they suggested a one-finish spray that was also water and (this was the seller) fuel proof. The surprise? It was CALIPER paint.
Important instruction: after sanding, test a small area with the primer. Once dried, cover the same patch with the new paint. If neither fizzed, bubbled or did anything else strange, they were compatible with the existing paint.
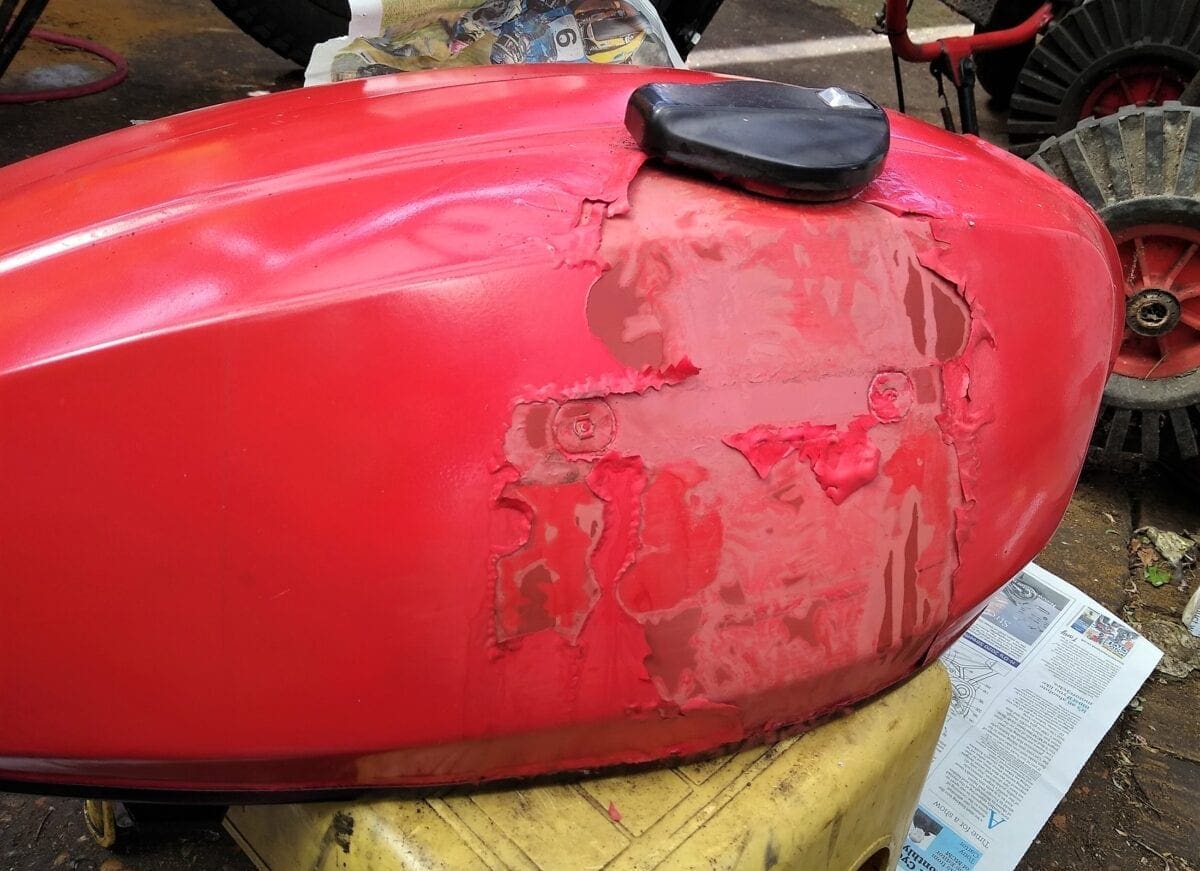
Sanding down. Made to sound SO easy in those magazine articles. ‘Get coarse paper, sand down to base metal then using finer grades clean up’. Reality? I had access to Roloc discs and a compressed air sander… and just sanding the area I was working on took time. By hand it would have taken hours As you will see from the photos, I took it down to smooth, not base metal. For a tidy-up, that would be enough. That done, I washed and dried the area then tested a patch, first with primer then the paint as instructed. No fizzing from either. Happy days, good to go.
Primer applied to the full area, left to dry for an hour, then sanded to smooth. This, I did manually. I wasn’t experienced enough with the Roloc / compressor to do fine work so, taking time under my own steam, I gradually brought down the rough patches using a 600 grade paper, then switched to a 2400 grade to smooth. I’d say 30 minutes of steady work (I learned this was a decent benchmark, but the sanding time lessened for the later coats).
Next wash and dry the tank to remove dust, flakes, etc, then apply the paint.
First spray with a new can. I was heavy-handed and sat too close to the tank. It went on too thick and ran. Not a problem, once dry – you got it. Sand it down, then smooth with finer grade paper. And go again.
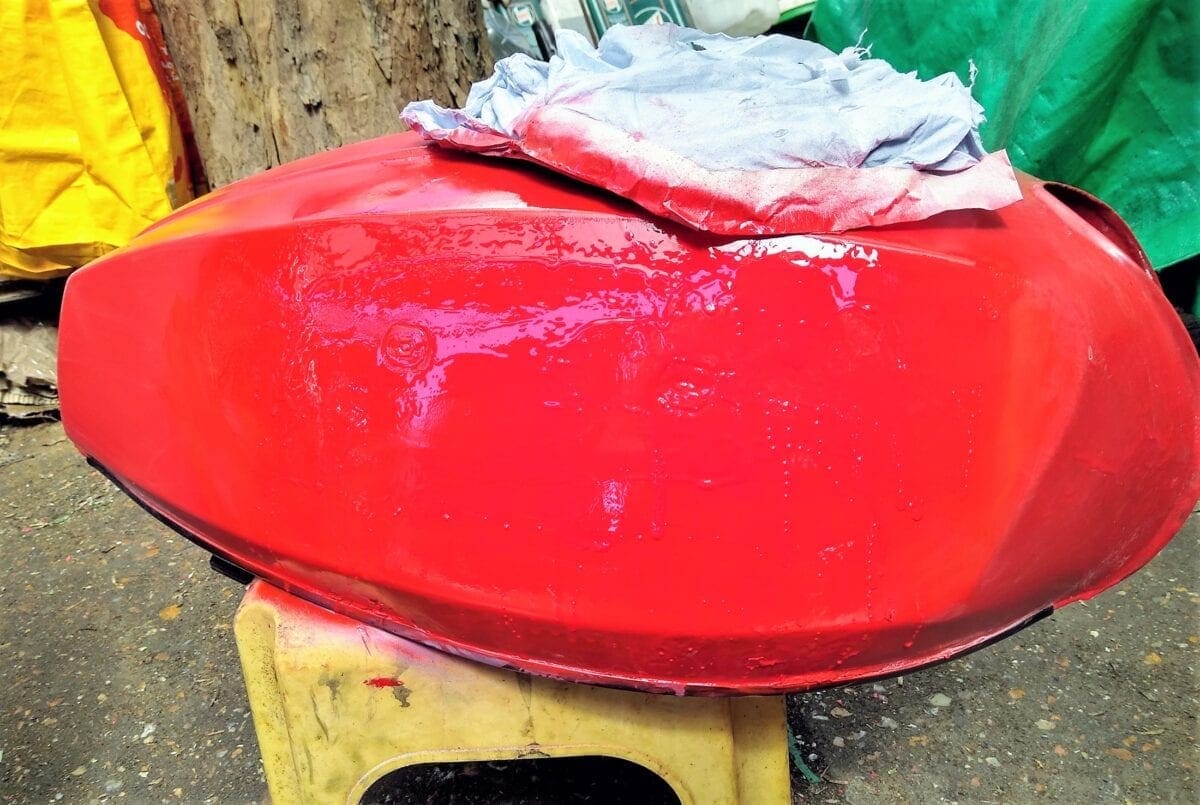
I worked out the best distance from the tank which was about 10 inches; too far away and the paint would dry mid-air and then I set to layering. From this point, patience is your friend, young Padawan. Apply, go off and do something else for an hour as the coat dries. Review, sand smooth, wash, dry and repeat. And repeat. And repeat. Applying thin layers gives the best final result. This is a time-consuming job. Maybe 10 minutes spraying, an hour to dry plus sanding time for each coat.
Oh, and the weather is important. I was doing this paint job in a covered courtyard. Great on a dry, sunny day as the paint dries faster. Colder and damper? Drying time is extended. When it rains? You don’t want raindrops landing on wet paint. That damages your carefully applied coat resulting, inevitably, in more sanding down.
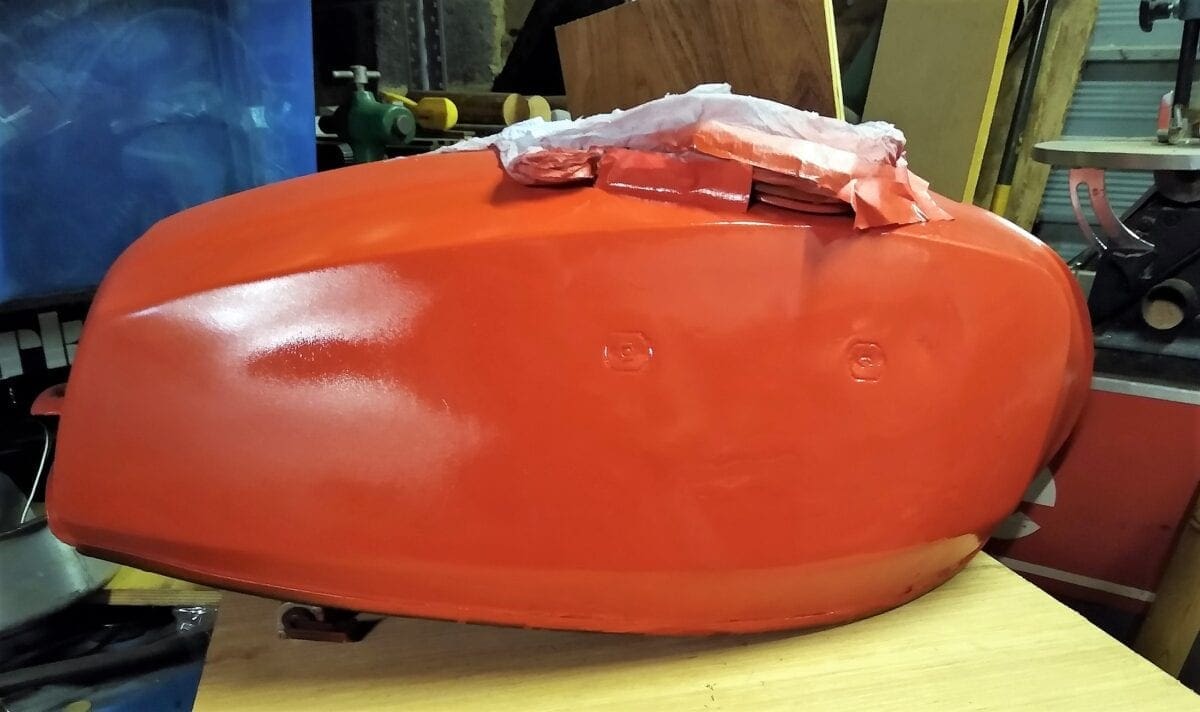
The top half of the tank took the paint well, but the bottom half was uneven. Lesson: I should have ensured the surface was perfectly smooth. But again, the world did not end, it just meant I had to take my time to build the coat evenly and fill the dips. So more layers, more patience. I estimate 10 layers topside, half as many again to smooth the bottom.
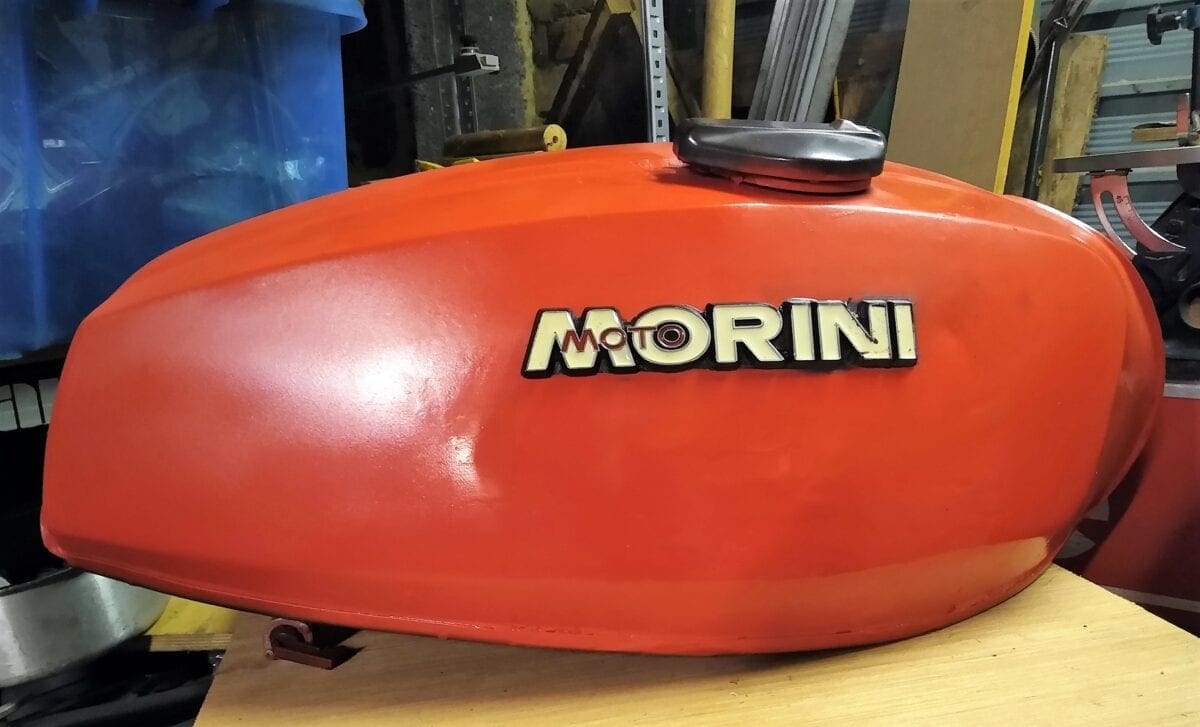
The final job isn’t perfect but was always intended as a tidy-up. Actually I do myself a bit of an injustice. You can’t see where the old paint ends and the new begins. It’s no worse than the existing paint job and this bike isn’t concours, so that’ll do nicely.
———
If, like Bob, you’d appreciate more in-depth advice about painting techniques suitable for classic motorcycles then look out for RC201, the January 2021 edition, which explains all about brush-painting methods and how to make the most of them. Then come back in March or thereabouts, when we’ll go into greater detail on the pitfalls, perils and practical procedures for successful spray painting. By then, you’ll be an expert!
——–
Words and photos by Bob Pickett