In which the true virtues of the Ariel Huntmaster gain appreciation and understanding. Frank Westworth remembers why British bikes are very special…
Have you looked closely at the frame of an Ariel? Have you ever considered how much work, how much metal went into its construction? These are finely-developed and well-engineered motorcycles, which is too often forgotten in these days of shallow, inaccurate reporting and Triumph obsession. No 1950s Triumph is as well built as an Ariel.
What brought on that little outburst? Taking out (again) and fitting the engine and gearbox (again) to the toasted Huntmaster, that’s what. Whenever I’m enjoying a complete rebuild I always attempt to do things properly, even where my skills are marginal. Which is most places, I sometimes think!
Enjoy more RealClassic Magazine reading every month.
Click here to subscribe & save.
The first time I replaced the engine and gearbox, there was a certain ‘tightness’ about it all. Some studs were very tight in the engine plates, several nuts didn’t want to tighten properly. Things like that. Irritating things. So I took it all apart again, cleaned all of the studs and nuts and washers again, cleaned all the powder-coat from the holes in the engine plates and slung it all carefully back together again.
This was much better. This time, once I’d tightened all the engine mounting nuts to finger-grip tight, the gearbox pivoted cleanly in its mountings; the primary chain adjuster lined up properly and all felt, somehow, comfortable. A lot better. Time to tighten things up, to fit the magneto (a much simpler job if you do it while the primary chaincase is off the bike), dynamo and carb.
Then it was back to the Ariel OC’s excellent and lively e-list to trawl the collective knowledge. How come there were no head steady stays fitted to my Huntmaster? How come although I’d bought a set of stays and frame clamps, there was no obvious room for the stays on the rocker box studs where they should fit? No real answers from list experts this time, so the head steady isn’t fitted as I type. No matter; I can always do it later.
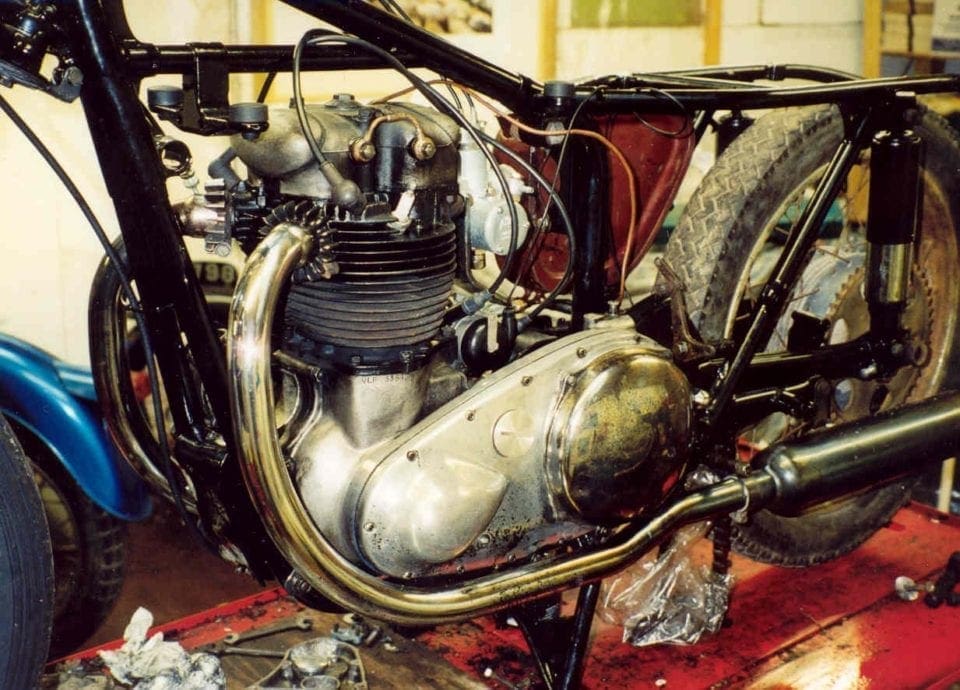
Meanwhile, how’s about assembling the primary drive? Always a challenge on Ariels, not least because of the vast and pre-war lengthy primary chaincase gasket, which I always find a problem to seal. And because one of the two studs which locate the battery carrier to the top of the chaincase had sheared off flush with the top of the case. I have never successfully removed a steel stud frozen into an alloy casting, but what the heck, let’s have a go!
Two broken drills and a powerful dose of foul language later, I had achieved nothing. I had taken a whole evening achieving it, too, so decided that Ariel had only used two screws where one would have done because they were a fine bunch of Brummie engineers doing the whole belt’n’braces thing, and I would just settle for a single screw. The battery carrier is held on by the big top mounting anyway, so it wasn’t likely to fall off. I hope.
I even remembered to fit the front part of the fully enclosed rear chaincase before I started lining up the inner primary chaincase, which goes to show that even the generally useless can get it right sometimes.
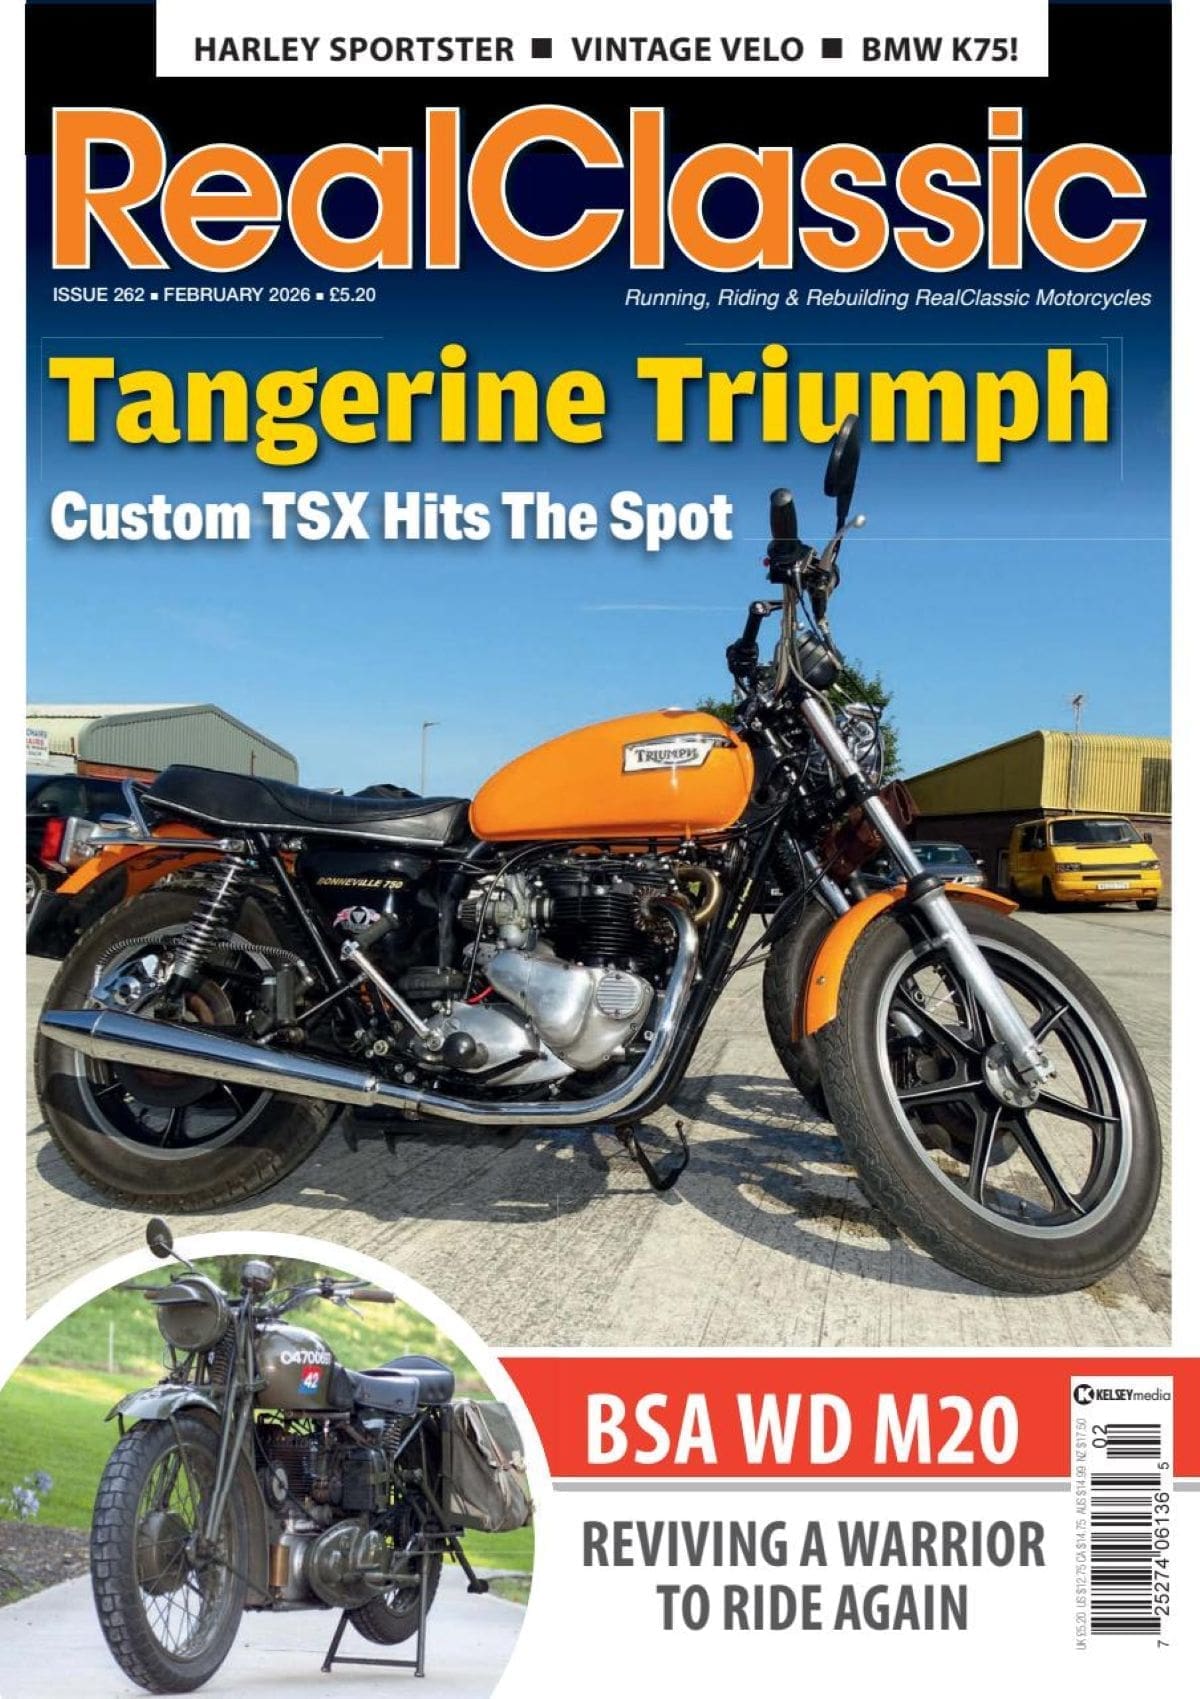
There are lots of satisfying moments in most restorations, and I was fast approaching another. The first is when the frame transforms into a rolling chassis by the addition of front forks and at least one wheel. The second is when the engine slides in, adding the word ‘motor’ to ‘cycle’ and reminding us of why we’re doing it! The next moment – for me at least – comes when engine and gearbox link together, adding a much more finished look to the bike’s drive side. And that moment was fast arriving.
As you may already know (if you are, sensibly, an Ariel fan), the Ariel primary case is heftier than most, with intelligent anchorages. Too many chaincases bolt only to the engine, with the clutch end anchored to nothing at all (how many like that can you name?), but the late Ariel case anchors at the back as well. It pays to remember this, and to assemble things loosely so you can see how they fit. If for any reason the case, engine, gearbox and frame don’t line up, then you are doing something wrong. Put down Thor, King of Hammers, brew some tea, and think hard, look hard.
But no; this time everything slid together like it was supposed to, and I slept the sleep of the accomplished for several nights!
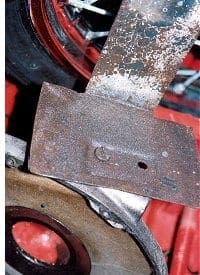
What was a little more of a concern was the state of the teeth on the clutch chainwheel. The wheel itself looked just about new, and the whole thing spun clean on its needle roller bearings, but I was a tad concerned about a slight chamfering to the outer faces of the teeth on the chainwheel. The teeth on the engine sprocket were fine, though, and the chainline looked OK when I ran a straight edge along it, so I pressed on.
New primary chain slid onto the sprockets like it was intended to, and all the joint surfaces appeared clean and flat – after a lot of rubbing and scraping, of course. Like the timing cover screws, the heads of the primary chaincase screws had been polished up, and it was amusing to see the over-polished chamfers line up properly as I tightened them. Little things please little … ‘hem.
The joint surfaces looked sound, too, so after a final clean with a fairly aggressive solvent, I greased up the new gasket and closed the case. I’ve always used grease on no-pressure, low temperature joint applications like this, as it is the gasket which seals the joint, not adhesive!
Which is presumably why oil dripped from the wretched thing as soon as I tightened it up. These Ariels are so well made… That’ll teach me to moralise.
Off with the case, clean all the joints again, and another careful reassembly, tightening all 257 screws the right way in opposite pairs. Made no difference. Took it all apart again. At least the screws and their mating threads were getting very very clean! Reassemble. Refill chaincase. No drips. Hurrah. These Ariels are so well made, etcetera.
Then a little clutch re-assembly. Clutches are simple things, and I’ve never understood why so many folk make such heavy weather of building them. I’ve also never understood why my expertly re-assembled clutches can so often drag and slip at the same time. It must be a talent I have. Not a particularly useful talent, however.
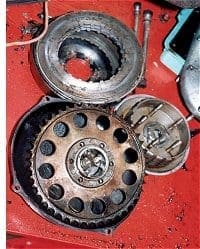
A good thing about the Burman clutch used on Ariel heavyweights is that it is robust. It is not cursed with fiddly little things, apart from those little things like the various rollers which are meant to be fiddly. But in any case, both sets of fiddly rollers went together in the best Motorcycles And How To Damage Them manner, actually being held in their rightful places by grease while I built up the rest of the clutch. I didn’t even bother with new springs, cups or plates, as everything looked brand new, the springs were all the same length (stand them all together and rest a flat piece of glass on top: you can instantly see whether any of them are odd lengths)(then repeat the exercise with the springs sat in their cups)(then juggle them around a lot…) and the plates were also flat and unbowed. Insert pushrod, replace pressure plate and try out the newly rebuilt mechanism. It works perfectly. This must be good news!
The crowning glory of the Ariel primary drive is that awesome clutch cover. In the case of The Toastmaster, the cover was discoloured by fire, and had also suffered from drips of the strange grey glop which the previous owner had sprayed onto the wreck. No amount of polishing would entirely remove either staining, so I decided that this was A Sign, and left them as they were; clean and shiny, but mysterious.
The smaller crowning glory is the oil filler cap on the same chaincase, and this had been entirely absent from the wreck. Being made of mazak or something similar, it had probably crumbled in the blaze. An email to my favourite supplier brought a replacement by return of post, but it was a machined item, not a casting, and didn’t fit the chaincase well. More jumbling, then…
Which is, strangely, how I fell into conversation with John Budgen, he who runs several of my favourite jumbles – favourite not least because he always has a stand selling Ariel bits! I was introduced by Delboy, Excellent Official of the Ariel OC and RealClassicist, and John instantly made a good impression.
He had a well used primary chaincase on his table.
‘I need a filler cap’, I smiled encouragingly. Mr B gave me a screwdriver. I removed the cap (all on my own; remarkable skill, really).
‘How much?’ I asked.
‘You can return the screwdriver…’ quoth Mr B, and refused to take anything for the cap, which was the right one, appropriately patinated, as we say, and which now sits next to the obscurely glinting clutch dome.
I chatted to Mr B for so long that all his customers lost interest and wandered off, replacing their wads of cash into their various pockets. I spoke of my tiny concern about the chamfering on the teeth of the clutch chainwheel, of my delight at sealing the primary chaincase. He smiled, knowingly.

‘There’s a spacer behind the engine sprocket, and lots of people don’t re-fit them,’ he nodded, knowingly, passing me a shiny ring of steel which looked as though it would be perfect to fit behind the engine sprocket.
‘They fit next to the oil seal, which lots of people don’t re-fit.’ He passed me an oil seal. An oil seal? ‘And those chaincases will always leak if you just seal them with grease and a gasket.’ He beamed. I went back to The Shed, knowing he was wrong.
Under the shiny primary chaincase was a large puddle of clean, golden oil…