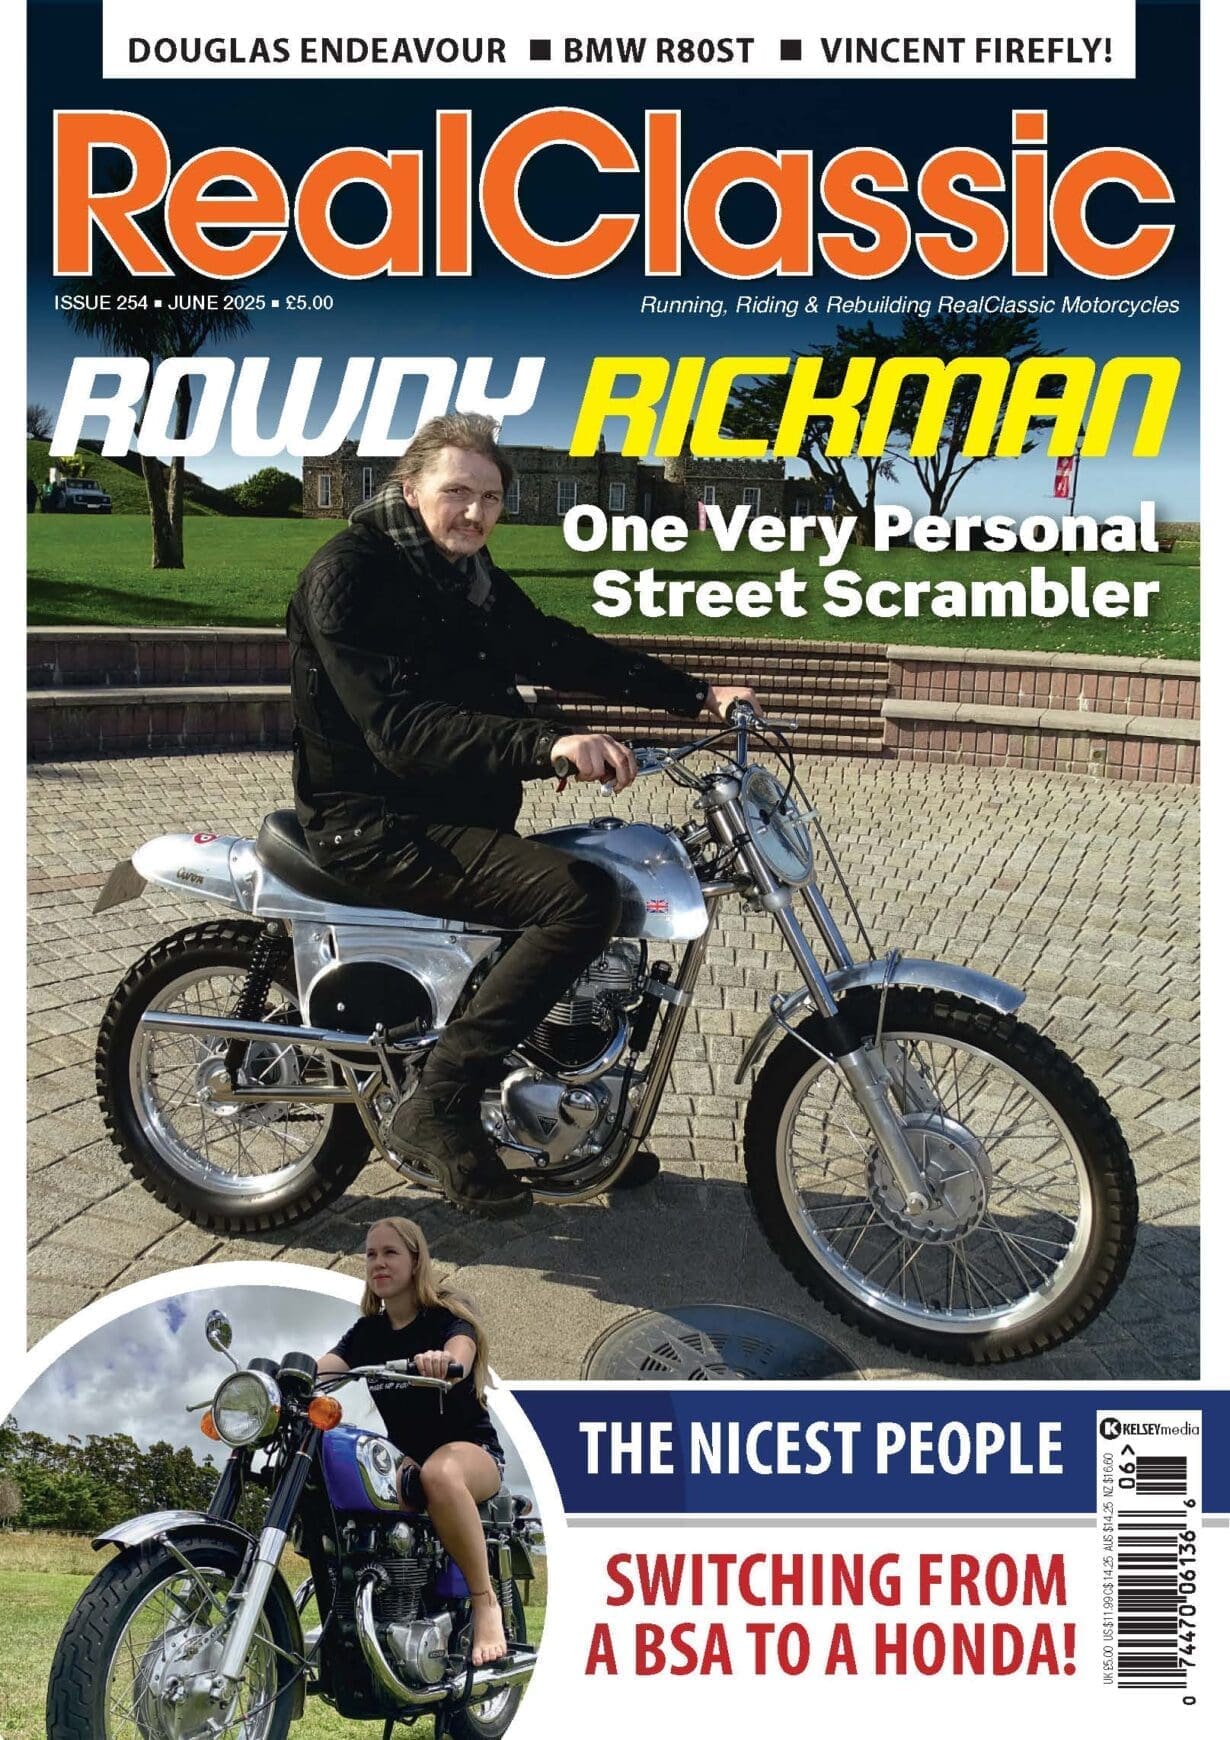
Working hard on his project Beesa, Phillip Rashleigh makes a wiring harness from scratch and discovers an excellent engineering firm who can fabricate the right kind of brackets…
Enjoy more RealClassic Magazine reading every month.
Click here to subscribe & save.
Where to start with the wiring? The Haynes book of lies had a picture showing the BSA diagram and this was confirmed to be correct by a B-Series BSA manual I found at an autojumble (trust no one). So now I had to find a way of getting wire, switches, connectors crimping tools and indicators…
A quick search of the interweb led me to Vehicle Wiring Products, who did everything I wanted, and even helped out with choosing the correct grade of wire, I have learned that modern wire and insulation is much better than the original stuff, and thinner wire can be used. Oh they do an indicator kit as well with a classic-style switch.
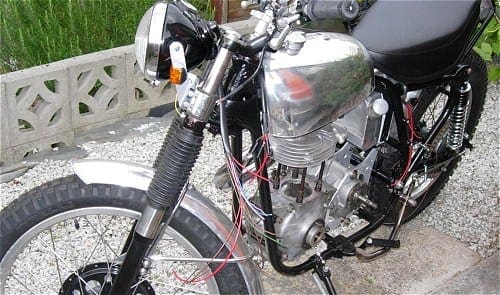
Now my way of making a loom may not be the correct way, but after much drinking of coffee and looking at the problem I decided that the easiest way to build a loom was to nail all the electrical switches, lights and the horn in the position I wanted them and then wire to and from these items as needed. I must point out I ordered about two metres extra of each colour cable! What I ended up with was lots of wire all over the bike which was then pushed into plastic sleeving, and then had heat shrink shrunk on at the ends to keep it neat. The ends were cut to length and terminated; the whole process took the best part of a weekend and looks ok, if a little modern.
I have a problem (one of many); if something doesn’t look correct I will get it made again until I am happy with it. Thus we start on what may seem bizarre behaviour to some.
The headlight brackets held the lamp unit too low and too far from the frame for my liking. This is meant to be an off-road bike and the lamp unit should be high(ish) and compact. Original Gold Star brackets hold the lamp unit too high (in my opinion), thus after making several templates from cardboard I had a bracket which gave a headlamp height I could live with.
|
Now off to another new contact, Spartan Engineering in North Devon. I cannot praise these guys enough, and I will insert a little sub story here: In the last four months I have changed jobs internally at work, this has meant that I have had to travel through NVNL-land and very close to RCHQ on a twice weekly basis. This has re-introduced me to old friends who like everyone have moved in their lives and bought Harleys (there is a further sub story here, but…) to complement a classic Lambretta and Jap pick up. They needed parts made as these are subtly customised, they put me in contact with Spartan after singing their praises, and low cost.
|
Random Ural Stuff on eBay.co.uk |

So off to chat to Spartan. I told them what I wanted, talked BSA B31s with the chap who likes these bikes lots, and then talked Royal Enfield trail bikes, what he makes for them and then Pre-60 and -65 trail bikes and then local trials in the area. Once we had this out of the way we got talking about the brackets! I am quite demanding about finishing of components; something to do with have a tool maker as a workshop foreman when I was making things out of metal for a living.
So a week later I went back to see what had been produced, fully expecting that the item would require an hour of so of fettling to get it to a good standard. It couldn’t have been further from the truth — all the holes had been chamfered, the edges knocked back and the flat surfaces had been ‘touched’ on the linisher. To say I was happy would be an understatement; I ended up with a pair of alloy brackets I was happy with and at a cost I didn’t think was too over the top.

So a week later I took two more templates to them for the manufacture of a number plate, rear light and indicator bracket, and a plate I intend to use to mount some electrical stuff on, under the seat.
Meanwhile, the inner and outer chaincases have been welded where the inner one was cracked, and the outer where the engine crank spring nut had come loose some time in the bike’s past. I managed to buy a CB Gold Star timing side cover with the opening for the rev counter drive, which I will get an alloy plate to cover (don’t ask: it’s a style thing!).
Exhaust: I have found a full, high-level item made for a B34 rigid trials bike. I am told it will fit, and when lining the thing up it seems a good bet. As I mentioned earlier, I have further brackets to weld onto the frame at a later date and this will be one of them. However I have recently seen a Goldie scrambler with a standard, low-level front pipe and silencer tucked up where the footrest hanger goes. Time will tell if this happens to my bike! If I find an original scrambler air filter then I will have to go this way.

One part I wanted to show you was the gear lever [No picture made it my computer, sorry. RM]. As with the brake pedal, the original BSA item is not long enough, and I want to have one with a bendy end but I haven’t had chance to get this built up yet. Also, I have found a ZB34 barrel in the States but it is in very poor condition, I will get the fins repaired but I am not too sure what to do with the pushrod tube.
Lots still left to do, then. Oily bits… maybe soon…!